
Here you will find the instructions for sewing a sherpa backed baby quilt! It is the perfect size for tucking around little ones in the car seat, on stroller walks or for couch snuggles. So this is going to be my first go at writing project instructions, I did my best to take photos along the way (I failed at some points) and I will now do my best to explain the steps (I will probably fail you at points, but google and YouTube never will).
First, a supplies list! All of these supplies can be purchased at your local fabric store (like Joannes) or online.
Fabric & Thread :
- 1 Yard of cotton fabric (front of quilt)
- 1 Yard of sherpa fleece (this is typically located with the polar fleece)
Batting:
- I chose the brand Warm & Natural "craft size" which is 34 x 45 in, but you will want to get a cotton batting and NOT a poly batting, don't be tempted by the cheap price of poly batting.
- Spray Baste
Binding:
- 2 Packages of Wrights double fold bias tape quilt binding in the color of your choice OR you can purchase one of these quilt bindings and skip step 9 all together (helpful if you don't have a rotary cutter/mat)
- Needle (Sharps I prefer size 9)
- Thread to match binding color (this is also what I use to machine quilt/sew the quilt)
- Thread conditioner *optional*
Supplies:
- Sewing Machine
- Walking foot attachment *optional, but HIGHLY recommended*
- Quilt Guide
- Fabric Marker (Hera Marker and/or Fabric Chalk)
- Thimble (I prefer this one) *optional*
- Needle Threader *optional*
- Rotary Cutter *optional, but HIGHLY recommended*
- Cutting Mat *optional, but HIGHLY recommended*
- Omnigrid Ruler *optional, but HIGHLY recommended*
- Iron & Ironing surface
- Pins
- Fabric clips *optional*
- Scissors (large and small thread trimmers)
- Old tablecloth, bedsheet, tarp etc.
- Seam ripper- prepare to make mistakes
Tips for Buying Fabric:
Purchase your fabrics, is in my opinion the hardest part because there are so many to pick from. I got into quilts in the first place because I truly love collecting fabrics. I love making these non pieced quilts because it gives me a chance to showcase a whole fabric, and I don't have to worry about cutting anything off/out like I would on a pieced quilt! So I would suggest picking your front fabric first, then choose the color of your sherpa backing (I usually love a neutral cream color), from there you can choose your binding to tie into the fabric on the front. If you are in the store, I would just hold up various binding until you get a combo you like. You can find so many beautiful fabrics in store or online- Etsy has some great fabric shops!
Tips for Buying Supplies:
Some of the supplies are not optional, and some totally are. Quilting/sewing can quickly become an expensive hobby, but if you think you will sew/quilt more regularly then I would recommend purchasing the HIGHLY recommended items. Here is my description and some notes on some of the items, what they are and why they help:
Walking foot- This is a type of sewing machine foot that helps pull your fabric through the machine. Think about it like the snow tires of sewing. When you are quilting, you are sewing through what is called a "quilt sandwich" (layer of fabric, layer of batting, layer of fabric) and it is difficult to feed that through your machine with your own upper body strength. The walking foot "walks" along and pulls the fabric through so you don't have to push it through with so much force. I quilted my first quilt projects without one, so you CAN do it, but it is much easier with one.
Rotary Cutter, Mat & Ruler These work as a little trio and help you cut your fabric with ease. If you are going to purchase a Mat, I would say bigger is better. When I first started quilting, I purchased a small mat on the cheep, but quickly upgraded to a large 36x24 mat and wished I would have just got the big one to start with and not wasted the money on the small one. But thats just my thoughts on the matter, you take into consideration your budget and how much you think you will be quilting. You can always look for a good coupon or wait for a sale to make the plunge. If you choose not to invest in one for this project, you will just substitute with scissors when this is called for.
Fabric Markers- you will need some type of fabric marker, I prefer my Hera Marker, as it leaves just a crease in the fabric (you can also use the dull side of a butter knife) and will always work on any color fabric, but you can also use fabric chalk, a washable fabric marker/pen or even a sliver of ivory soap if you have a dark fabric).
Fabric Clips - I love these things for many reasons, but my favorite is binding. I like to keep my binding folded over ahead of me while I tack it down, and these clips are great for that. You can also use small binder clips.
Quilt Guide/Arm- This sometimes comes with a machine and almost always comes with a walking foot, it is a metal bar that goes through the back of your sewing machine foot and helps you to space out your stitching lines without having to make lots of lines. It's not necessary, but as you will see in the instructions it is helpful. If you decide not to purchase/don't already have, you will just need to mark out your grid for quilting with a ruler and fabric marker- past what I do in the instructions.
Alright, here we go- jumping into the real instructions!
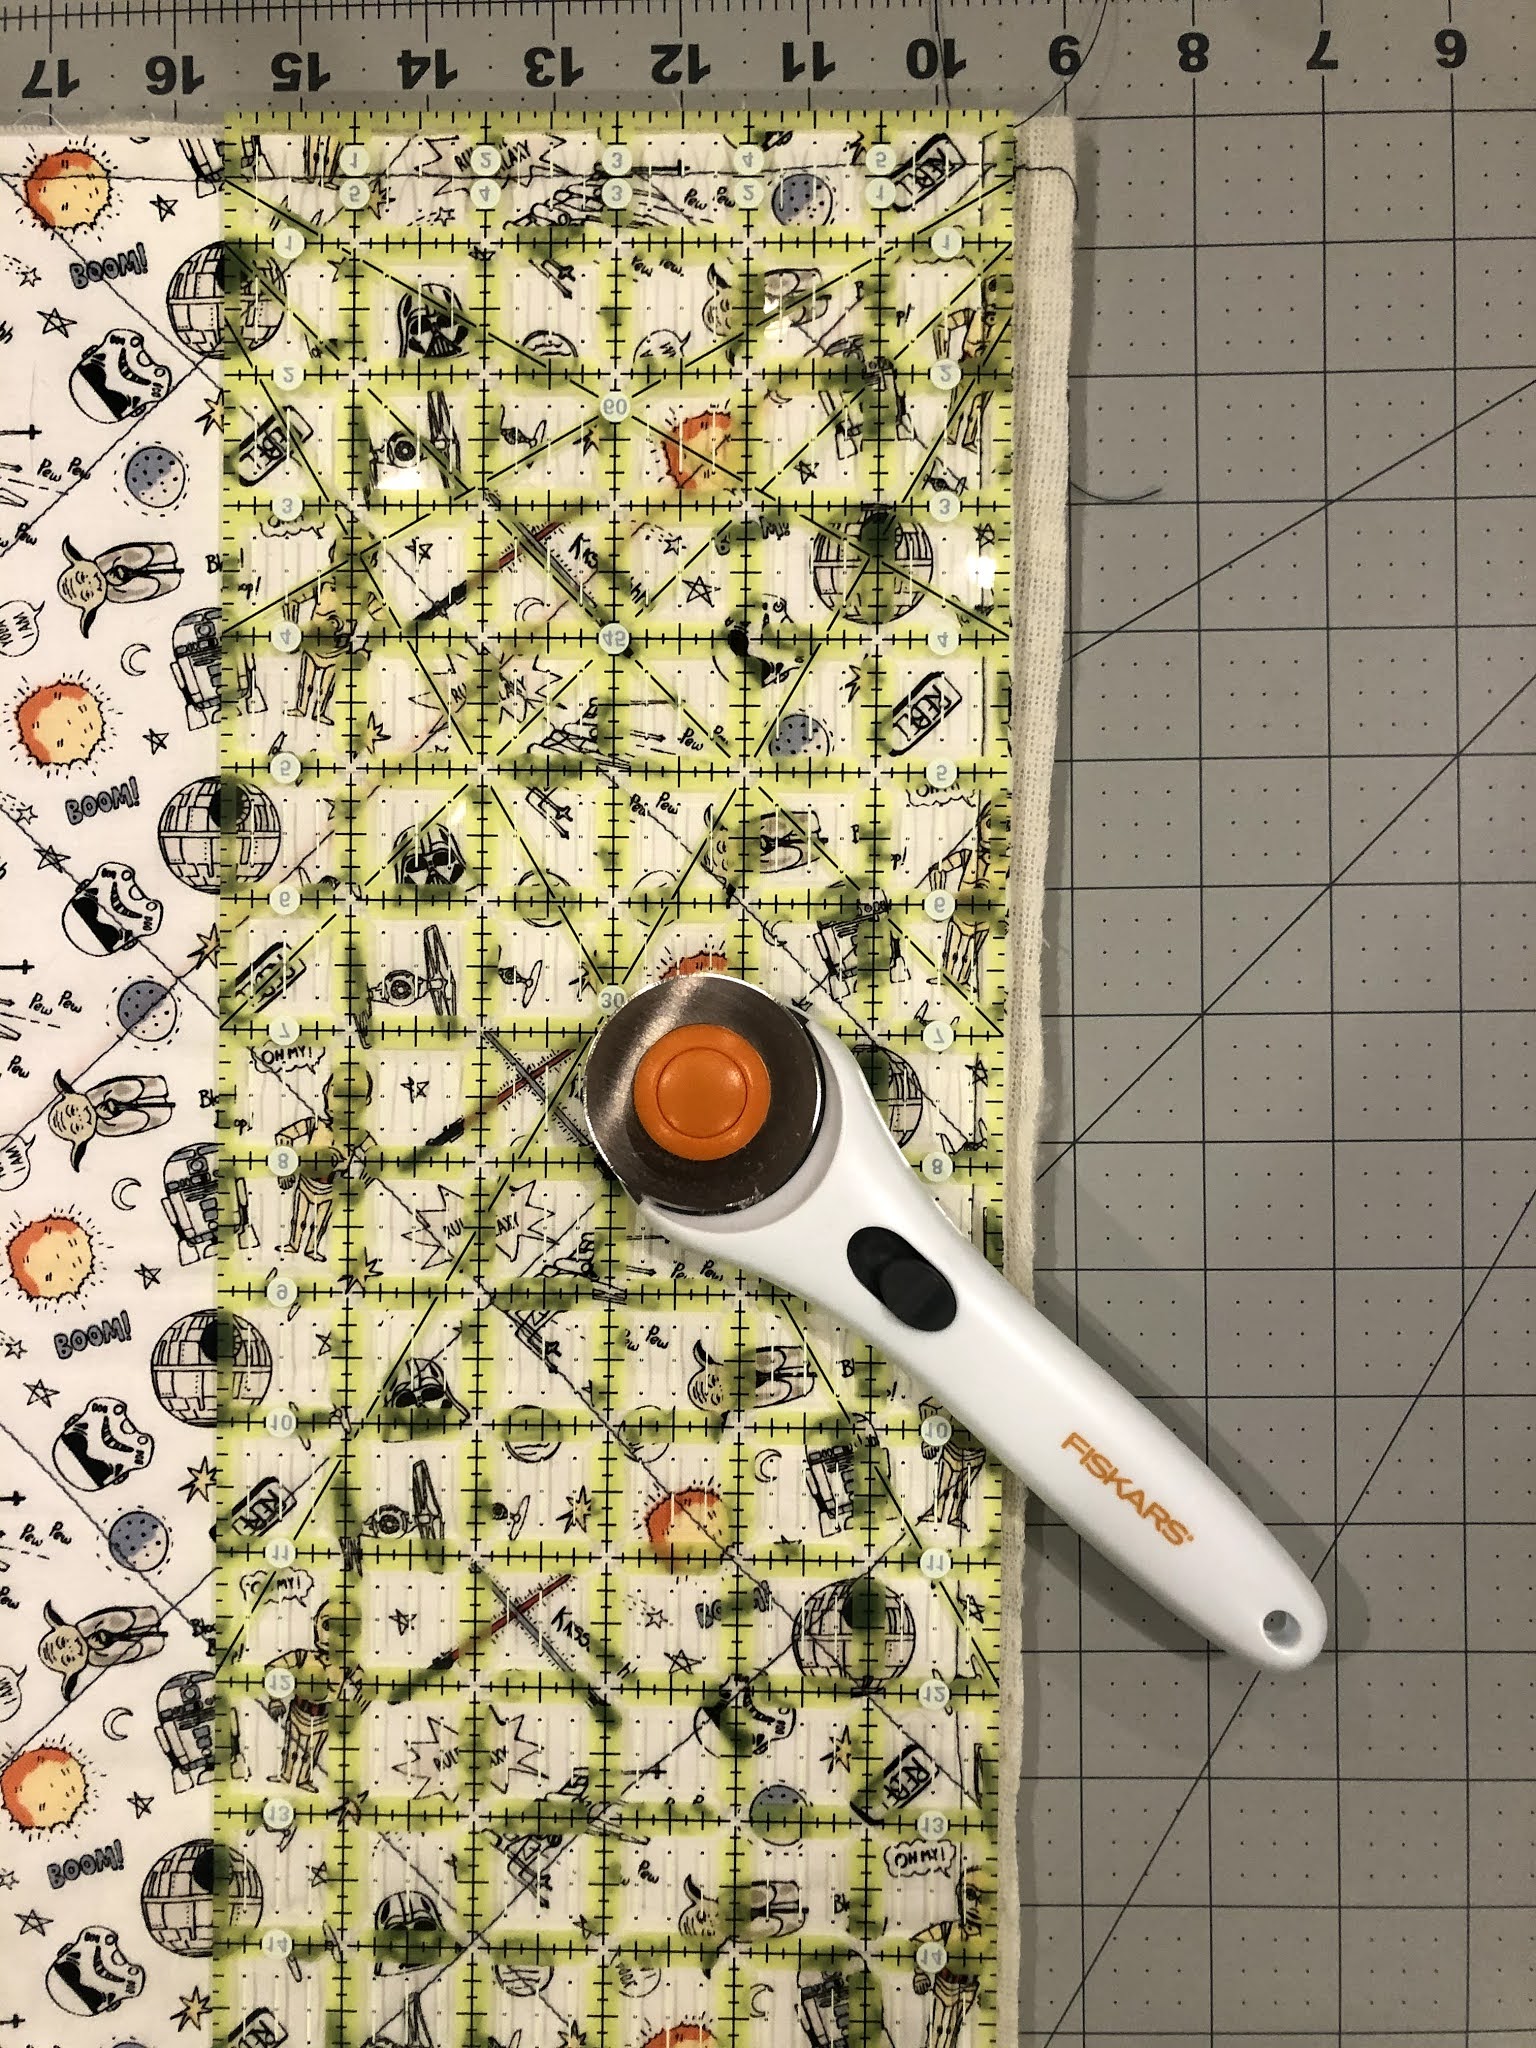
1) Square Up Your Front Fabric.


2) Apply Batting with Spray Baste

Now grab your Batting, your spray baste, an old sheet, tarp, etc (sorry mine is white folks- it makes things hard to see at times) and your newly square piece of cotton. **AN IMPORTANT NOTE IF YOU ARE USING A WHITE OR LIGHT COLOR COTTON.** Below you will see pictured TWO SIDES of the batting, one is going to be more white, the other more tan and flecked with cotton fibers. If you have light fabric, please make sure that you apply the white side facing the back of your light fabric so that the flecks of cotton wont show through.

*two sides of the same batting*


Now grab your scissors and cut through the batting around your cotton square.
3) Mark your lines for quilting.


PSA- DON'T SEW OVER YOUR PINS when you are sewing and come up on a pin, please remove the pin and keep sewing. You can break a needle or break a pin. Best case scenario you are inconvenienced and worst case scenario a piece of a pin or needle flies into your eyeball. IT IS NOT SAFE don't do it.
7) Trim Edges AGAIN


8) Prepping Your Binding
I would like to note, this is where it gets hard to explain, so please stick with me as I give it my best shot. If I am terrible at it, you can search on pinterest, youtube or google "joining quilt binding" and you can get videos and tutorials from people who are much more talented than me, and teach for a living. Also, you can make your own binding from any number of fabrics, but since this is for beginners, this is me showing you a cheater way.

Grab your iron and ironing board and start heating that puppy up. I do not like using the binding as it is out of the package so I like to unfold the "double fold" part and use it as SINGLE fold. So open your packages and open up your binding.


Now you are going to trim your binding to 1 1/4 inches wide using our rulers and rotary cutter. Make sure you are cutting the raw edge side and not the creased side!! Trim both pieces of binding.


Start opening up the end of one piece of prepared binding and place it creased sides touch (right sides together) As shown in the image below.

Now you will pin the two corners, as shown below.


Start by choosing "the bottom" of your quilt and lay the binding down starting in the middle of that bottom edge (assuring the binding is creased edge pointing toward the middle and the raw edges matching up with the raw edges of the quilt.


Now we are going to sew our binding on, placing our needle 1/4 an inch from the edge of the quilt, STARTING SEWING at that mark we made 10 inches from the TOP of the binding in the MIDDLE of the quilt. I cannot stress this enough. IT IS SO important that you leave about 10 inches of binding un-sewn so that we can join the ends of our binding together when we are done. Sew that 1/4 seam all the way down to the bottom of your quilt. (Shown Below) **It should be easy because of the 1/4 inch seam you already sewed around the edge to join the sherpa to the front of the quilt. Just "stitch in the ditch" of that seam you made before. Keep sewing and STOP when you hit that mark you made 1/4" from the end of the first side of the quilt. We are going to miter our corners (easy peasy).


Now, I will ROTATE the quilt so that the corner is at the top, you will fold the binding back, straight up while holding the side of the binding you just sewed down, and it will make a little 45 degree angle (eyeball it, you don't have to measure 45 degrees) (shown below)


We are now going to Join the ends of our binding together, using a similar technique to how we did this before. Let's go ahead. Like I said, this is harder to explain than it is to do, so let's see how I manage.


You want them to "kiss" right sides together. See below.
You will position them so that they overlap each-other, forming a right angle. Place two more pins in, as shown below and once it is secure, remove that center pin and stitch from corner to corner as I have shown (in image below).

BEFORE YOU TRIM THE ENDS ASSURE THAT EVERYTHING LINES UP AND YOU HAVE DONE IT PROPERLY! It should look like the image below. If it isn't, do not worry- just seam rip and try again.

Now you are going to trim off the excess. do so by trimming 1/4 inch away from the seam you just sewed. (as shown in image below).

Now open up the seam and press the seam open (shown below)


10) Hand Sew Binding down on the other side!
You are now going to "hand bind" your quilt. I believe this is the most attractive way to finish your binding, as well as the most fun. I love hand stitching.
Start by gathering your supplies listed for hand binding! Needle & thread, thread trimmers (or regular scissors) binding clips and thimble. I also have pictured a needle threader and my thread conditioner.
Thread conditioner is not a necessity by any means, but it makes stitching so much smoother and leads to less snags and knots.
Ok, now you will go around and fold that binding over, all the way around the quilt clipping it down with your fabric clips or small binder clips!

When you get to a corner fold it kind of like you are wrapping a gift! (shown below) And then clip in place.


Now we are ready to thread our needle. Cut a piece of thread about 18 inches long. Run it through conditioner if you have it and then tie a double knot in the end and thread the opposite end through the needle eye. Pick a side, any side at any place to start in! I usually start in the middle of a side. We are going to hide our knot. We do that by inserting our needle between the two layers of binding and poking its head out of the crease (shown below).


In an attempt to hide our stitches the best we can, we want our stitches to run parallel to the binding. We achieve that by going straight down into the binding, making sure we catch the sherpa layer (and not just the fuzz, the fuzz makes it kind of difficult at times to see) and maybe even the batting layer but NOT going straight through the other side. You don't want your stitches to show through on the front of your quilt.


Then you will trim the thread as close to the binding as possible, and run your finger nail over that spot to "hide" the hole. ALL the steps are pictured below.


Make about three of those types of stitches to secure it (see below)


Keep stitching until you are all the way around!
